

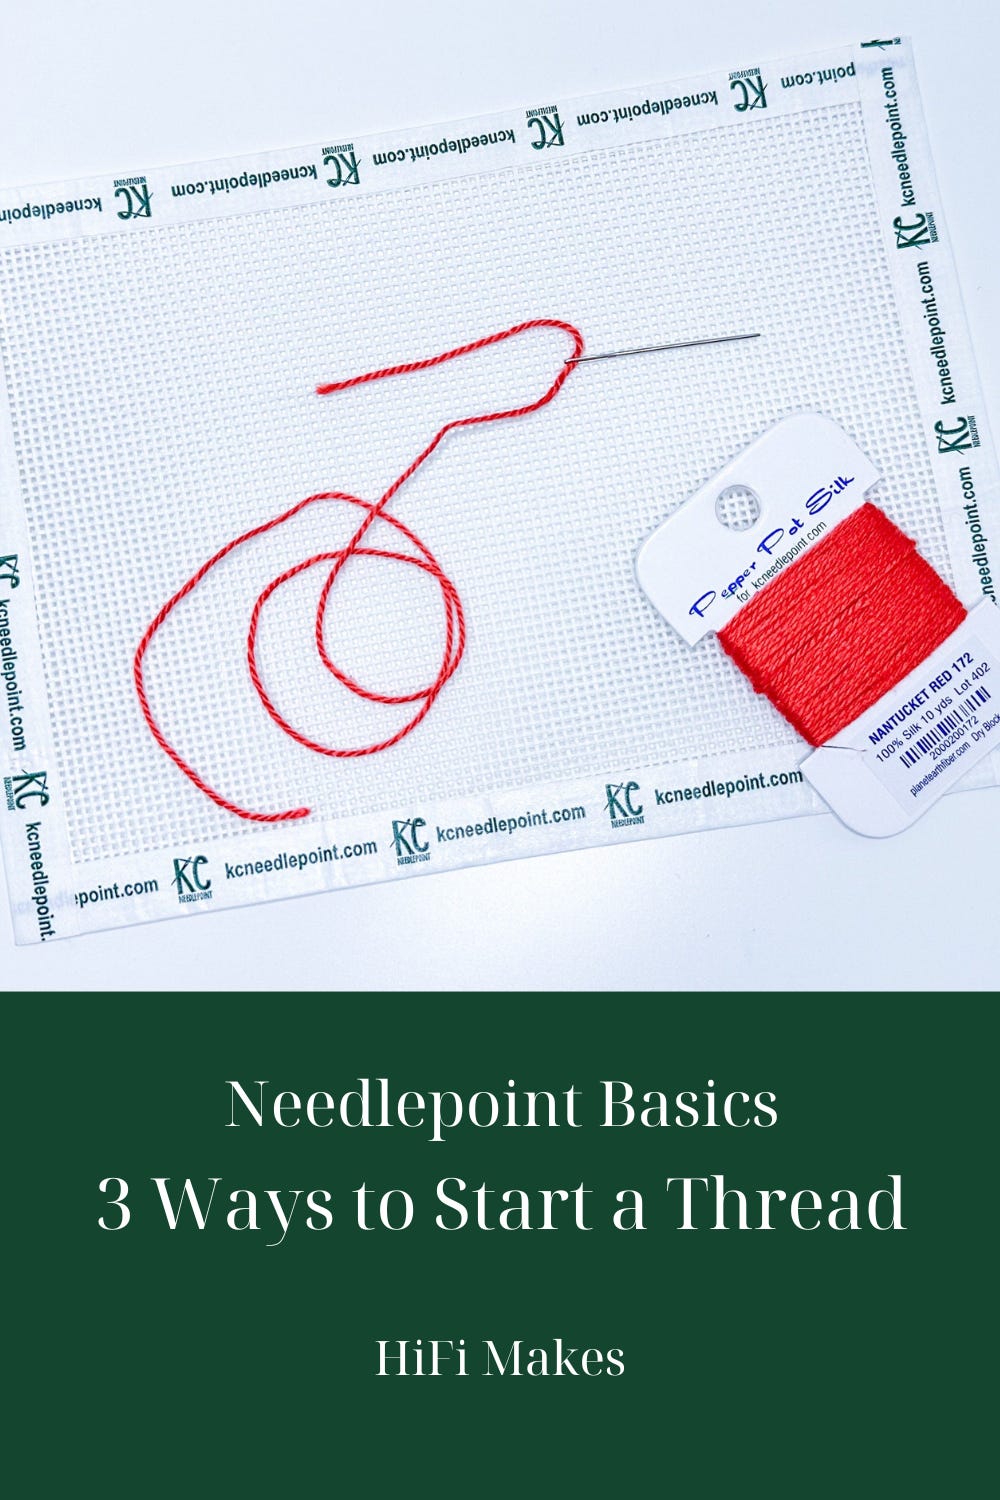
Starting A Needlepoint Thread - Three Ways

Starting a thread in needlepoint might seem like a small step, but it’s foundational to stitching. A clean start sets the tone for each thread by making sure your stitches lie smoothly, the back is neat, and that your work will hold up over time. Whether you’re new to needlepoint or refining your technique, understanding the different ways to begin a thread is crucial. Once you know your options, you will have the ability to choose the best option for your stitching. In this post, I’ll walk you through three ways to start a new thread and share tips for executing each technique. Keep reading to learn more about catching the thread, burying the thread, and using a Waste Knot.
Catching the Thread
One of the easiest ways to begin a needlepoint thread is by catching the thread on the back of the canvas. To do this, leave a short tail of thread (one to two inches in length) along the back side of the canvas as the first stitch is placed. Grab on to the end of the thread (catch it) and hold it in place as the first few stitches are put in place. As stitching continues, the new stitches will cover the tail and secure it in place - be sure to check occasionally to make sure the stitches are in fact locking the tail in place. This method works especially well when starting in an area that will be fully stitched. Be sure to check occasionally to make sure that the thread is fully anchored as stitches are made.
The below video is taken from the backside of the canvas and shows the act of catching the tail of the thread.
Burying the Thread
Similar to the way you end a thread, you can also bury a thread to start a new thread. To bury the thread, weave it underneath about an inch of existing stitches on the back of the canvas. This method is straightforward and works especially well with open stitches or slippery threads.
The below video is taken from the backside of the canvas and shows the act of burying the tail of the thread in stitches.
A few special notes about this method:
If you don’t have an inch of stitches available, double back or bury in a ‘u’ shape so that the thread will be secure.
If burying the thread in a straight line, it can be easy to pull out as you make the first stitch. Consider doubling back or burying in a ‘u’ (as mentioned above) to avoid pulling out.
If using a slippery thread, double back or bury in a ‘u’ (as mentioned above) to avoid pulling out.
If stitching in Basketweave, follow the same rule as with ending the thread and make sure to bury the thread in a horizontal or vertical line (not diagonal).
This is a great method to use with an open stitch. Make sure to stitch the areas around the area where the open stitch will be and bury the thread in the adjacent areas, this will keep the area of the open stitch clean.
Waste Knot
This approach involves placing a temporary knot at the end of the needlepoint thread.
As stitching begins, take the needle through the front of the canvas to the back of the canvas about an inch from where the first stitch will be made. Make sure the knot is located in a direct line from the first stitch so that the first few stitches will cover the tail on the back as you work toward the knot. Note that the waste knot will sit of the front of the canvas.
The below video is taken from the frontside of the canvas and shows locking the Waste Knot in place on the front of the canvas and making the first stitch.
Once the tail has been secured with stitches, the knot can be cut off at the surface of the canvas. By using a knot, this saves the stitcher the stress of trying to hold onto the thread and allows them to focus on each stitch instead, making this an ideal start for new and experienced stitchers alike.
A variation of a Waste Knot is the Away Waste Knot which involves placing a knot further away from the starting stitch. Instead of stitching over the thread immediately, the knot is placed at the edge of the canvas with the intention that it will be stitched over as the canvas is worked. This method is ideal when you are particular about where you want your thread to be anchored. This method doesn’t work in all situations and should be avoided if there is concern the anchored thread is visible behind stitches (a concern when you are using a low coverage thread or open stitches).
Final Thought: Each of these methods has its place, and part of the joy of needlepoint is discovering which techniques work best for you and of each your projects. By mastering a few different ways to start your thread, you’ll not only improve the finish of your work but also make the stitching process smoother and more enjoyable from the very first stitch. What’s your favorite way to start a needlepoint thread?
I enjoy the "Anchoring L" for starting new threads on a blank canvas. Once I have some stitching done, I like burying the stitch.